Skip to main content
History
History
Competitions
Golf
Golf
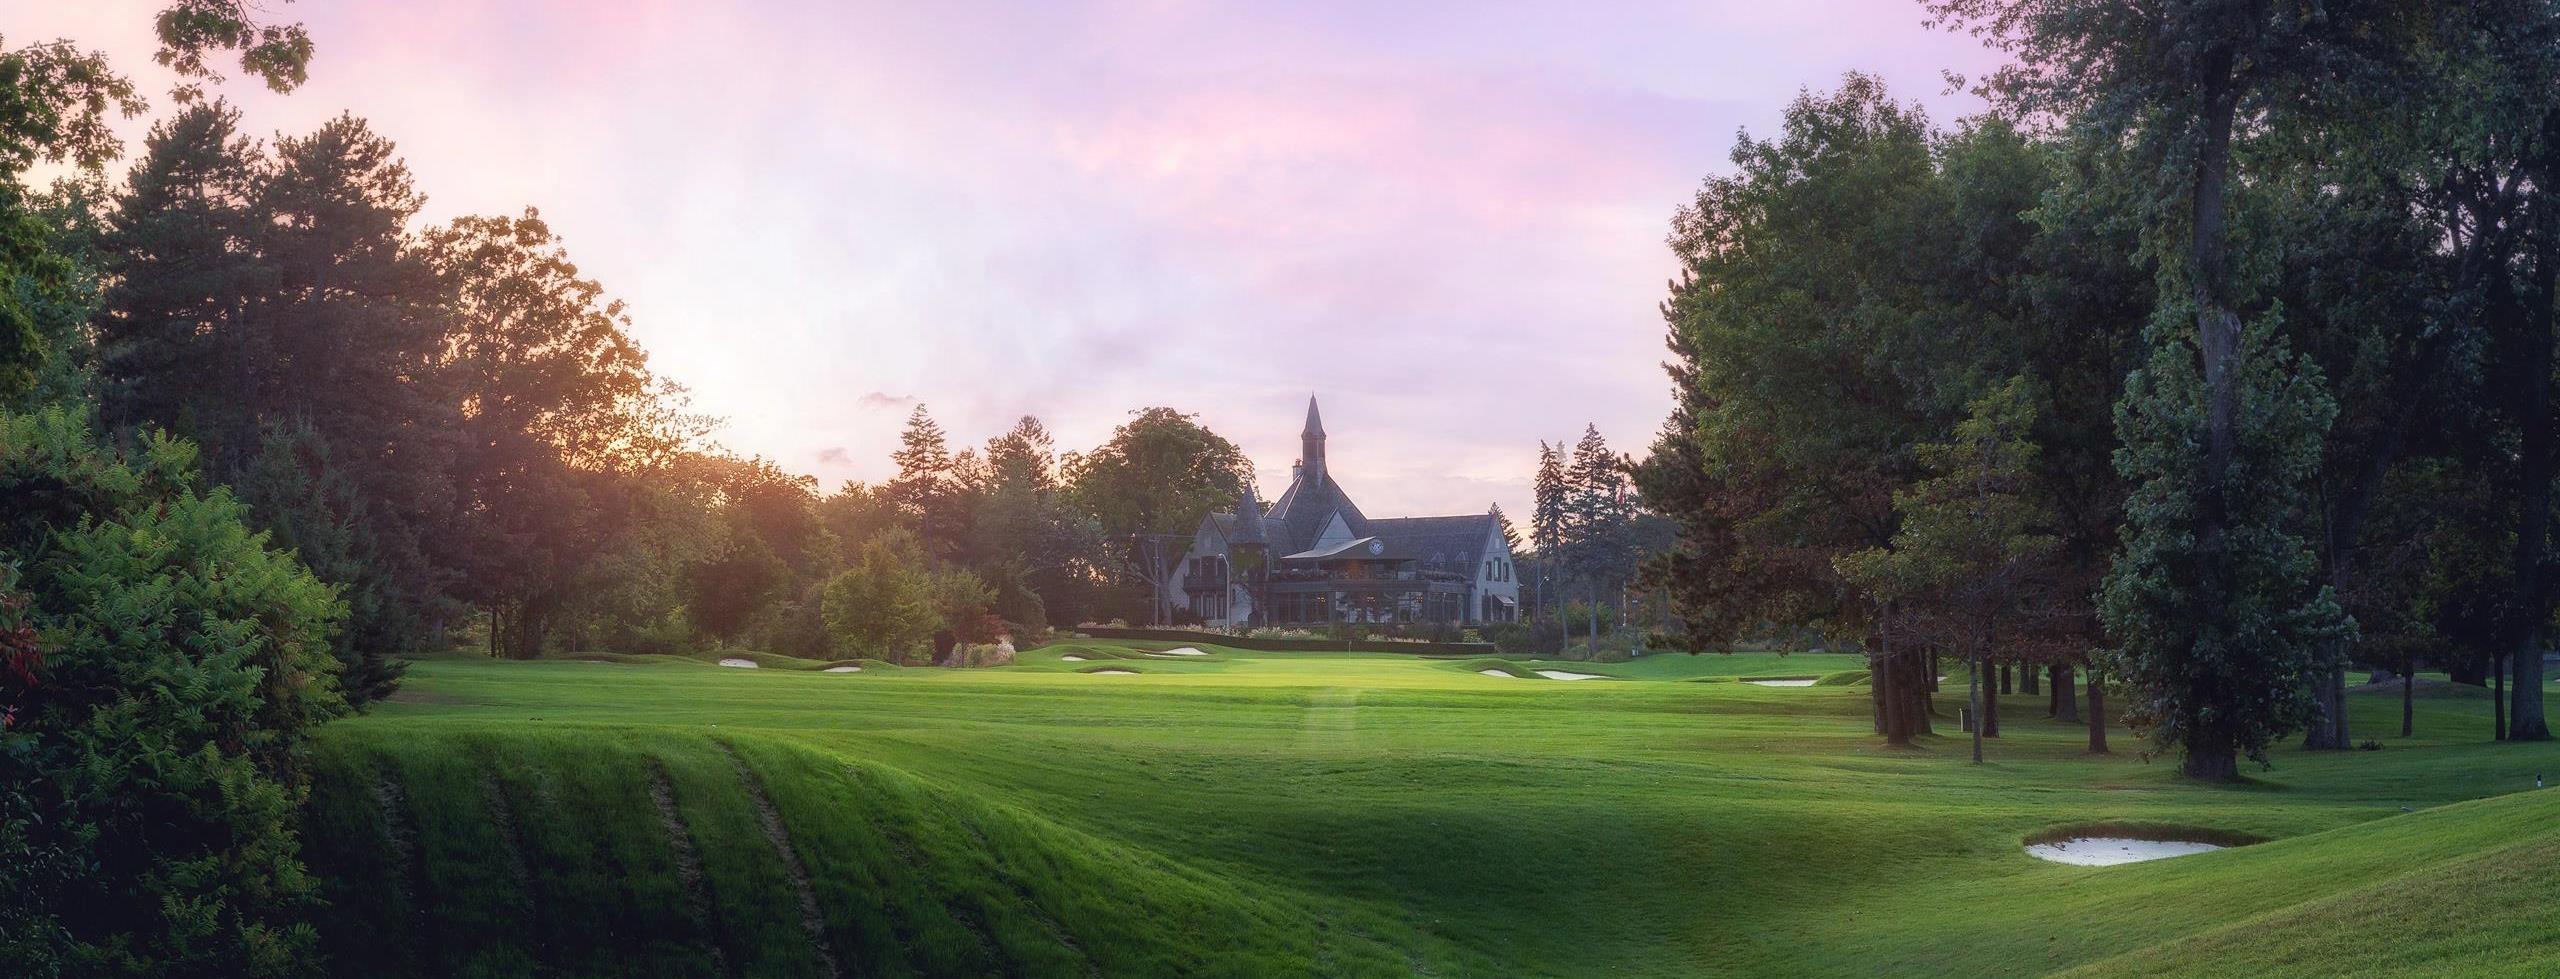
Course Tour
Login
Menu
Gallery
Guests
Golf Guest Information
Dining Guest Information
Directions
Members
Gallery
Guests
Golf Guest Information
Dining Guest Information
Directions
Members
History
History
Competitions
Golf
Golf
Course Tour
Gallery